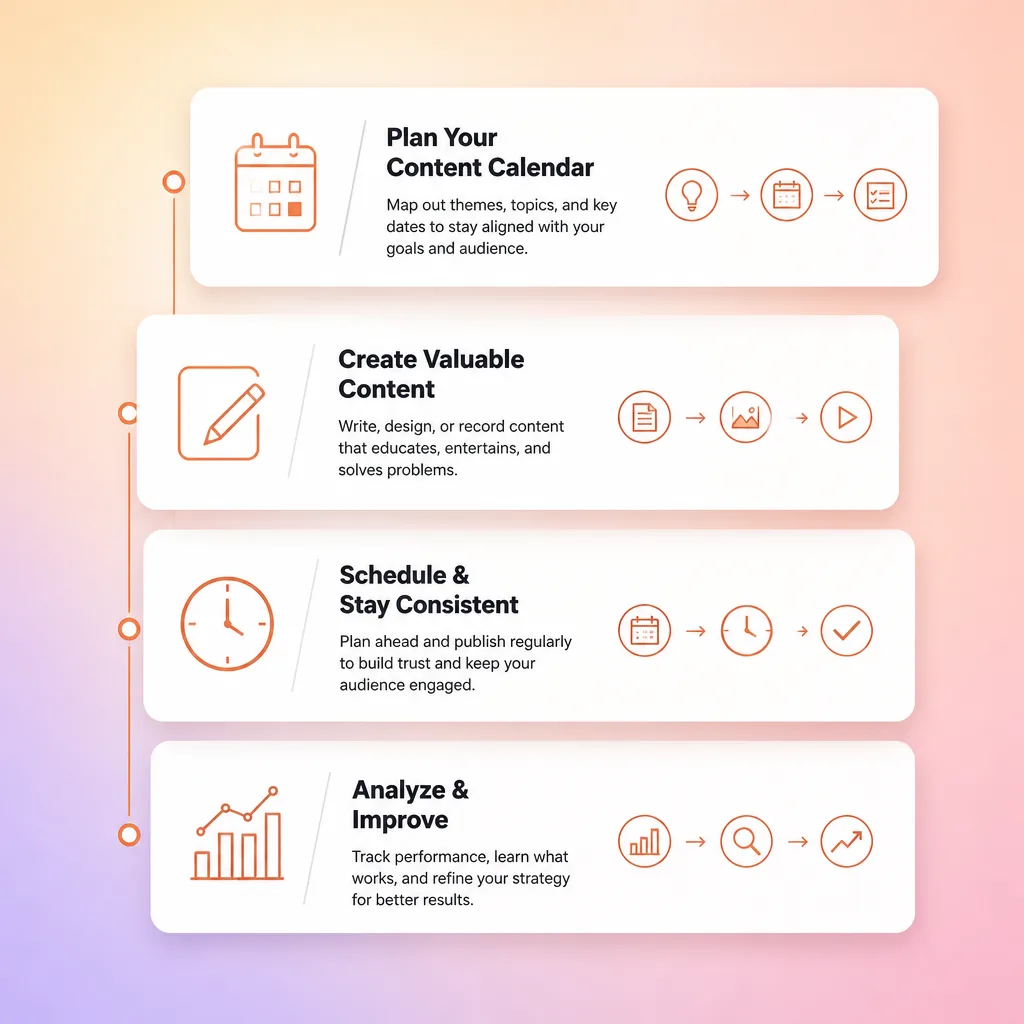
A content calendar kept in a shared spreadsheet gets updated when someone remembers, and the publishing follows the same pattern, with fewer posts than planned and quality that depends on who had time to write that week. A Notion and Buffer content calendar gives the plan a fixed structure and the posts a fixed place to go.
The setup below uses Notion as the planning database and Buffer as the scheduling tool, in four phases that a marketing team can set up in an afternoon. It also covers the step most guides skip, which is how an approved post gets from Notion into Buffer without someone copying it across by hand.
Accounts and access to sort out first
- A Notion account (free plan works fine)
- A Buffer account (the free plan connects up to three social channels and holds 10 scheduled posts per channel at a time)
- Access to your brand's social media profiles
- About one hour for the initial setup
Phase 1: Plan your Notion content database
The planning phase is where most content calendars break. A spreadsheet has no structure, so every team member fills it differently. Notion gives you a database, which means every row has the same fields and you can filter, sort, and group content without manual organisation.
Step 1: Set up your content database. Create a new Notion page and choose the table layout. Add these property columns (the database fields that categorise each piece of content):
- Title: The working title or topic idea
- Status: Idea, In progress, Review, Approved, Scheduled, Published. Use Notion's Status property type for this, which files every option under To-do, In progress or Complete (Notion's guide to database properties)
- Channel: LinkedIn, X/Twitter, Instagram, Blog, Newsletter
- Content type: Post, Article, Video, Infographic, Carousel
- Publish date: Date property for when it goes live
- Notes: Any brief, links, or references for the writer
Step 2: Use a calendar view. Notion lets you add multiple views to the same database. Add a Calendar view grouped by publish date. This gives you a visual overview of your month and makes it easy to drag content between dates.
Step 3: Create a weekly content review. Set aside 30 minutes each week to review the Ideas column, move drafts to Review, and schedule approved posts. The database makes this fast because you can filter by status and see exactly what needs attention.
Phase 2: Write inside your calendar
The creation phase is where the content actually gets written. Keep everything attached to the database entry so nothing gets lost between drafts.
Step 1: Link a writing page to each entry. In Notion, click the open button on any database entry to expand it into a full page. Write the post draft directly in the page using Notion's editor. This keeps the brief, the draft, and the status in one place.
Step 2: Add a review step. Before a post moves to Scheduled status, assign a reviewer by adding a Person property or by sharing the page link with a colleague. When the review is done, update the status to Approved.
Step 3: Batch your writing. The most efficient pattern is to write a week's worth of social posts in one sitting. Use the calendar view to see all the slots for the coming week, write drafts for each one, and move them to Review. This takes about an hour once you are in the habit.
If you are looking for ways to reuse existing content more efficiently, our guide on AI content repurposing with Claude Cowork and Buffer MCP covers turning one blog post into multiple social pieces. Buffer's comparison of social media management tools is also a useful reference for choosing the right scheduling platform.
Phase 3: Schedule through Buffer
The scheduling phase moves approved content from Notion to Buffer, where it gets published at the right times.
Buffer supports direct scheduling from the web app and mobile app. The workflow is simple: copy the approved draft from Notion, paste it into Buffer's composer, attach any media, and set the publish time.
For more efficient scheduling: Buffer's recommended posting times guide provides data-backed time slots per platform. Use these as defaults for each channel column in your Notion database. LinkedIn performs best mid-week during business hours, while Instagram favours evenings and weekends.
Step 1: Set up Buffer channels. Connect each social profile to your Buffer account immediately. Buffer supports LinkedIn, X/Twitter, Facebook, Instagram, TikTok, and more.
Step 2: Create a weekly posting queue. Buffer's queue feature lets you set a default schedule. Posts added to the queue fill the next available slot. This means you can add ten posts at once and Buffer spaces them out according to your schedule. On the free plan ten is also the ceiling, because Buffer holds 10 scheduled posts per channel at any one time and frees a slot each time one publishes (Buffer's pricing page).
Step 3: Move the status to Scheduled. Once a post is in Buffer, update the Notion status to Scheduled and add the scheduled date and time to the Publish date property. This creates a single source of truth for what is coming and what has been sent.
We covered a similar workflow using different tools in our guide on Notion, Make and Buffer for content automation, if you want to automate the Notion-to-Buffer handoff further.
Can Notion send approved posts to Buffer on its own?
It can't do it directly, and this is where most Notion and Buffer calendars fall back to copy and paste. We checked both sides in September 2026. Buffer's pricing page lists no Notion integration, and Notion's automation actions include Send webhook and Send Slack notification, with nothing that talks to Buffer by name. So the connection has to be built.
The fuller version starts with a Notion database automation. Set the trigger to Property edited, with the condition that Status is Approved, and the action to Send webhook, which makes Notion send an HTTP POST with the page's details to a URL you choose (Notion's guide to database automations). Whatever sits at that URL, whether a Make scenario, a Zapier webhook or a short script, reads the post text and creates the post through Buffer's API. Buffer issues API keys at publish.buffer.com/settings/api (Buffer's developer documentation), and even the free plan includes one key and 3,000 requests a month, far more than a weekly calendar will use.
There is a plan gate on the Notion side. Custom database automations, Send webhook included, need a paid Notion plan, and a Free workspace can only build automations that send Slack notifications. That makes Slack the free version of the handoff: a card moving to Approved posts a message to a channel, and whoever schedules that week copies it into Buffer from there. On a free Buffer plan, keep the 10-post ceiling in mind too, because approving twelve LinkedIn posts in one go leaves two of them without a slot until earlier ones publish.
| Handoff route | What it needs | What a person still does |
|---|---|---|
| Copy the approved draft into Buffer's composer | Free plans on both tools | Checks Notion for approvals, then copies and schedules every post |
| Notion sends a Slack message when Status is Approved | Free plans on both tools, plus a Slack workspace | Copies each flagged post into Buffer, without having to watch Notion |
| Notion sends a webhook to a receiver that calls Buffer's API | Notion Plus or higher, a Buffer API key, and a Make, Zapier or script receiver | Reviews the Buffer queue before posts go out |
Phase 4: Measure what worked and why
Without a results column, the calendar records what went out and says nothing about what worked, so the fourth phase closes that loop.
Step 1: Add an analytics property. In your Notion database, add a text property called Results. After a post publishes, note the engagement metrics: likes, comments, shares, saves, link clicks. One line per post is enough.
Step 2: Review monthly. At the end of each month, filter your database by channel and look for patterns. Which content types had the highest engagement? Which topics landed? Use these patterns to inform the next month's Ideas column.
Step 3: Adjust your posting schedule. Buffer's analytics show which times and days get the best performance per platform. Feed that data back into your Notion calendar by adjusting the default publish times for each channel.
Notion's social media calendar template is a good starting point if you prefer to use a pre-built system rather than building your own database from scratch.
How the framework compounds over time
The first month of using this framework, you will probably publish the same amount of content you always have. The difference is that it is organised. The second month, you start noticing gaps in your content calendar and filling them proactively. By the third month, you have an archive of what works and a queue of ideas ready to write.
The compounding effect comes from the feedback loop. Every post generates data that feeds the next round of planning. You stop guessing what to publish and start knowing what your audience responds to.
Set the first week up before you build the rest
- Create a Notion database with the properties above
- Add the Calendar view
- Populate next week with five content ideas
- Connect your social profiles to Buffer
- Write and schedule one post per day for the week ahead
That is roughly one hour of setup and an hour of writing. By Friday you will have a publishing cadence and a system that makes next week even easier.
Frequently asked questions
What is a content calendar framework?
It is a repeatable system for planning, creating, scheduling, and measuring content using a database connected to a publishing tool.
How long does the Notion and Buffer calendar take to set up?
About an hour for the Notion database and the Buffer channels, and another hour to write the first week of posts.
Does Buffer have a Notion integration?
We could not find a native one on either side in September 2026. The link runs through Notion's Send webhook automation on a paid Notion plan and Buffer's API, or through a Slack notification that tells someone to schedule the post.
What if my team uses a different scheduling tool?
The Notion side stays the same. Any scheduler works for the copy and paste route, and the webhook route works with any scheduler that accepts posts through an API.
Both tools are free to start. Here is what the paid tiers cost if you outgrow the free plan, as listed on Buffer's and Notion's pricing pages on 28 September 2026:
| Tool | Free plan | Paid plan |
|---|---|---|
| Buffer | Up to 3 channels, 10 scheduled posts per channel | Essentials, USD 6 per channel a month (USD 5 billed yearly), unlimited scheduled posts |
| Notion | Unlimited pages and databases, 7 days of page history, 10 guests, Slack-only automations | Plus, USD 10 per seat a month billed yearly (USD 12 monthly), with 30 days of history, unlimited guests and custom database automations |